Hosting Images
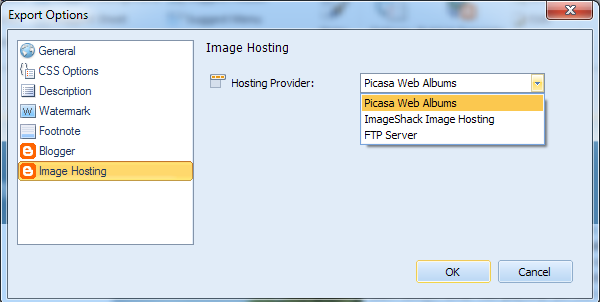
Blogger does not support uploading images directly to Blogspot accounts, so you will need to select one of methods available in Artisteer for hosting template's images externally. Artisteer provides three image hosting options which may be used depending on your reliability and performance requirements:- Picasa Web Albums
This service is used by default and is suitable in most cases as Picasa utilizes the same Google account used for Blogger and does not require additional registration or configuration.
To set the hosting options navigate please File -> Export -> Options -> Image Hosting.
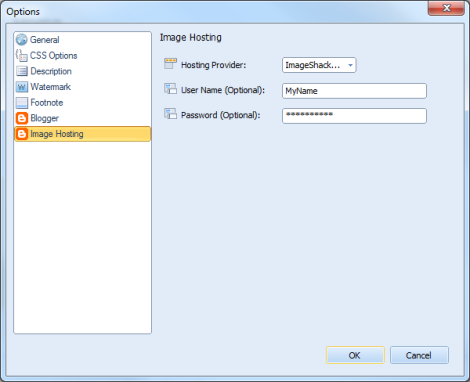
NOTE: Picasa does not support large images being accessed from custom domains, therefore when hosting your blog on a custom domain (eg. www.<yourname>.com) Artisteer will instead upload larger images to free ImageShack image hosting service. This may occasionally result in slower performance, therefore custom domain owners may consider choosing other image hosting options listed below. - ImageShack
ImageShack is an alternative to Picasa and offers a free service that does not require user registration for uploading the images. Nevertheless, you should be registered to use your hosted images. Artisteer supports both free service and paid ImageShack accounts. Enter your login information in Artisteer to use the ImageShack hosting.
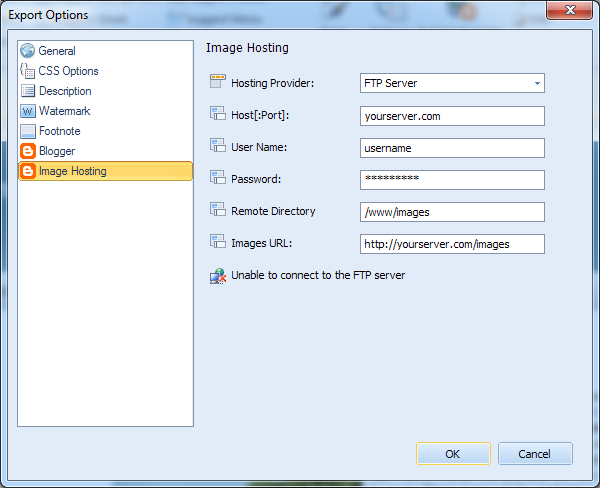
- FTP
You may choose to upload images to an FTP server by providing your FTP account information, FTP folder where you want images to be stored, and the URL that corresponds to the specified FTP folder.
You may also use any other service to host your images. In such case you select to export (rather than publish) your template in Blogger format and separately upload images to your hosting destination.
Please, keep in mind that neither ImageShack nor Picasa allow to publish .swf files. Using Flash Header will require some other hosting service for uploading images. For this select "FTP server" as a hosting service in Artisteer Export Options.
Exporting and Installing Blogger Templates
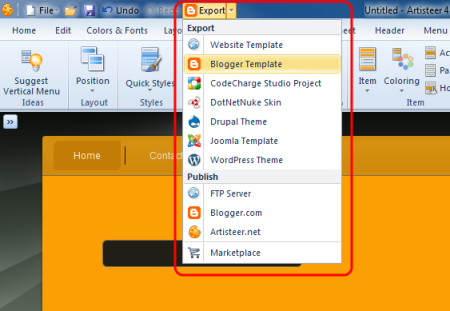
In some cases you may choose not to publish your Blogger template but export and manually upload it.To export a Blogger design:
- Navigate Export -> Blogger Template.
- In the Export dialog enter the folder name and the path to the exported template, check the appropriate boxes to export the template as ZIP archive and/or include the ARTX project.
- Select the location for the exported images, configure the Menu Source and other options by clicking "Options".
- Click the "Export" button.
- Open the exported main.xml file and modify the image paths to reflect the location you’ve chosen to place the image files.
- Log in to your Blogger Dashboard.
- Navigate Template -> Edit HTML and paste the code from main.xml.
- Confirm and Save.
Creating Horizontal Menu
Before publishing/exporting the template open Artisteer Export Options (File -> Export -> Options -> Blogger) and specify the Horizontal Menu Source. The default horizontal menu source will be Pages, but you can also select "Custom" if you would like to use custom links.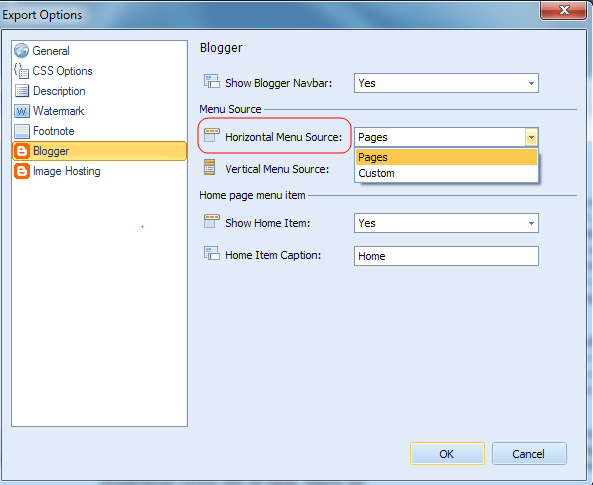
To edit the menu in Blogger:
- Log in to your Blogger Dashboard.
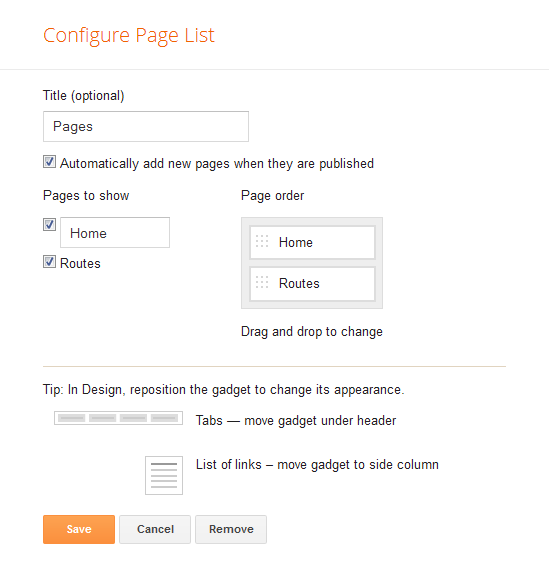
- Go to Layout-> Pages -> Edit. This will take you to Configure Page List.
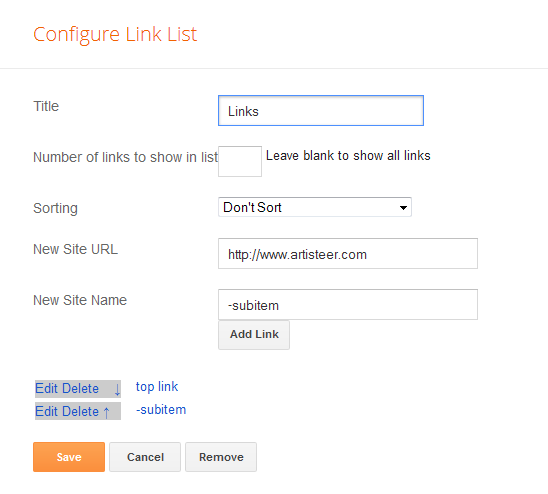
If you are creating a custom Top Menu instead of Pages you will see the Top Menu bar. Select Edit and add the menu item link in the Configure Links List.

- Click "Add Link" to add links.
- If you need a multi-level menu please enter "-" (dash) before the Subitem
name, for example: "-Submenu Item".
Please note that the Submenu item should be placed below the parent menu item.The page-source menus can have only one level of menu items. - Click Save.
- If you do not want to use the menu please select a layout in Artisteer without a menu.
- "Home" item is added when the "Show Home item" option in Artisteer Export Options dialog is set to Yes.

Working with Vertical Menu
In the Export Options you can select a Vertical Menu source - Archive, Pages or Custom Vertical Menu. Go please to File -> Export -> Options -> Blogger.
To edit the Vertical Menu:
- Log in to your Blogger Dashboard and select "Layout".
- Find the Vertical Menu area and select "Edit". The Vertical Menu area will be named "Pages", "Links" or "Archive" depending on the selected Vertical Menu Source.
- Add menu item links in the Configure Links List.
- If you need a multi-level menu please enter "-" (dash) before the Subitem
name, for example: "-Submenu Item". Please, make sure to place the Submenu item below the parent menu item.
Note: The page-source menus can have only one level of menu items.
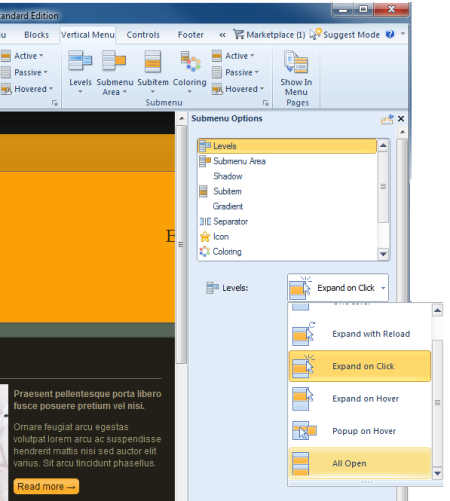
Subitems will show up on the website after clicking the parent item. To change this setting, please open your Artisteer project and navigate Vertical Menu -> Submenu -> Levels -> e.g. All Open. After that re-publish your template and repeat the steps described above.
- Click Save.
Displaying Blogger Navbar
The "Show Blogger Navbar" option allows you to hide/show the Blogger navigation bar on the top of your pages. To set this option go please to File -> Export -> Options -> Blogger.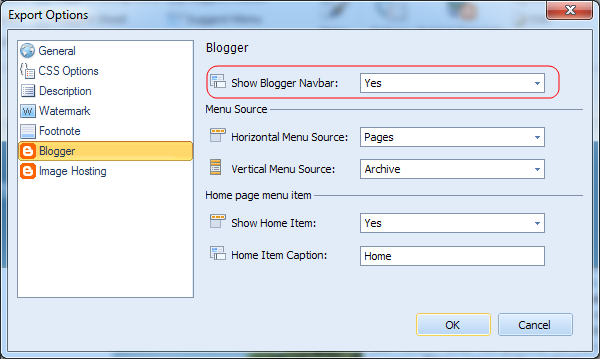
Make sure that you do not violate Blogger Terms of Service if you decide to remove the Navbar.
Adding Gadgets to Header
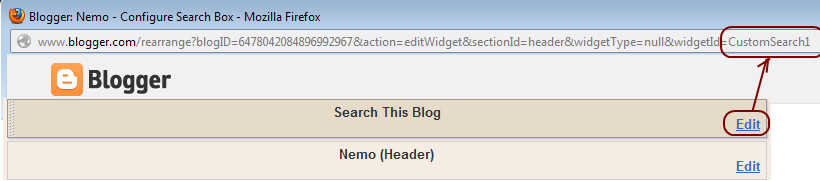
Artisteer 4.0 templates published or exported to Blogger support gadgets in Header. The style and position of gadgets can be adjusted with CSS code. Please follow the steps below:- Drag and drop a gadget above the Header area.
- Click Edit Gadget and copy the gadget's id, e.g. CustomSearch1. The id is required to position a gadget with CSS.
- Select Edit HTML and paste a custom CSS code after /* Begin
Additional CSS Styles */ in the code window. Use CTRL+F for faster
search:
#CustomSearch1 {
      top: 20px;
      left: 50%;
}
how to modify the image paths to reflect the location you’ve chosen to place the image files?
ReplyDeleteExcellent web site you have got here.. It's hard to find high-quality writing like yours nowadays. I truly appreciate individuals like you!
ReplyDeletewebsite design